
Get Started
Part 1: Pre-Requisites
3
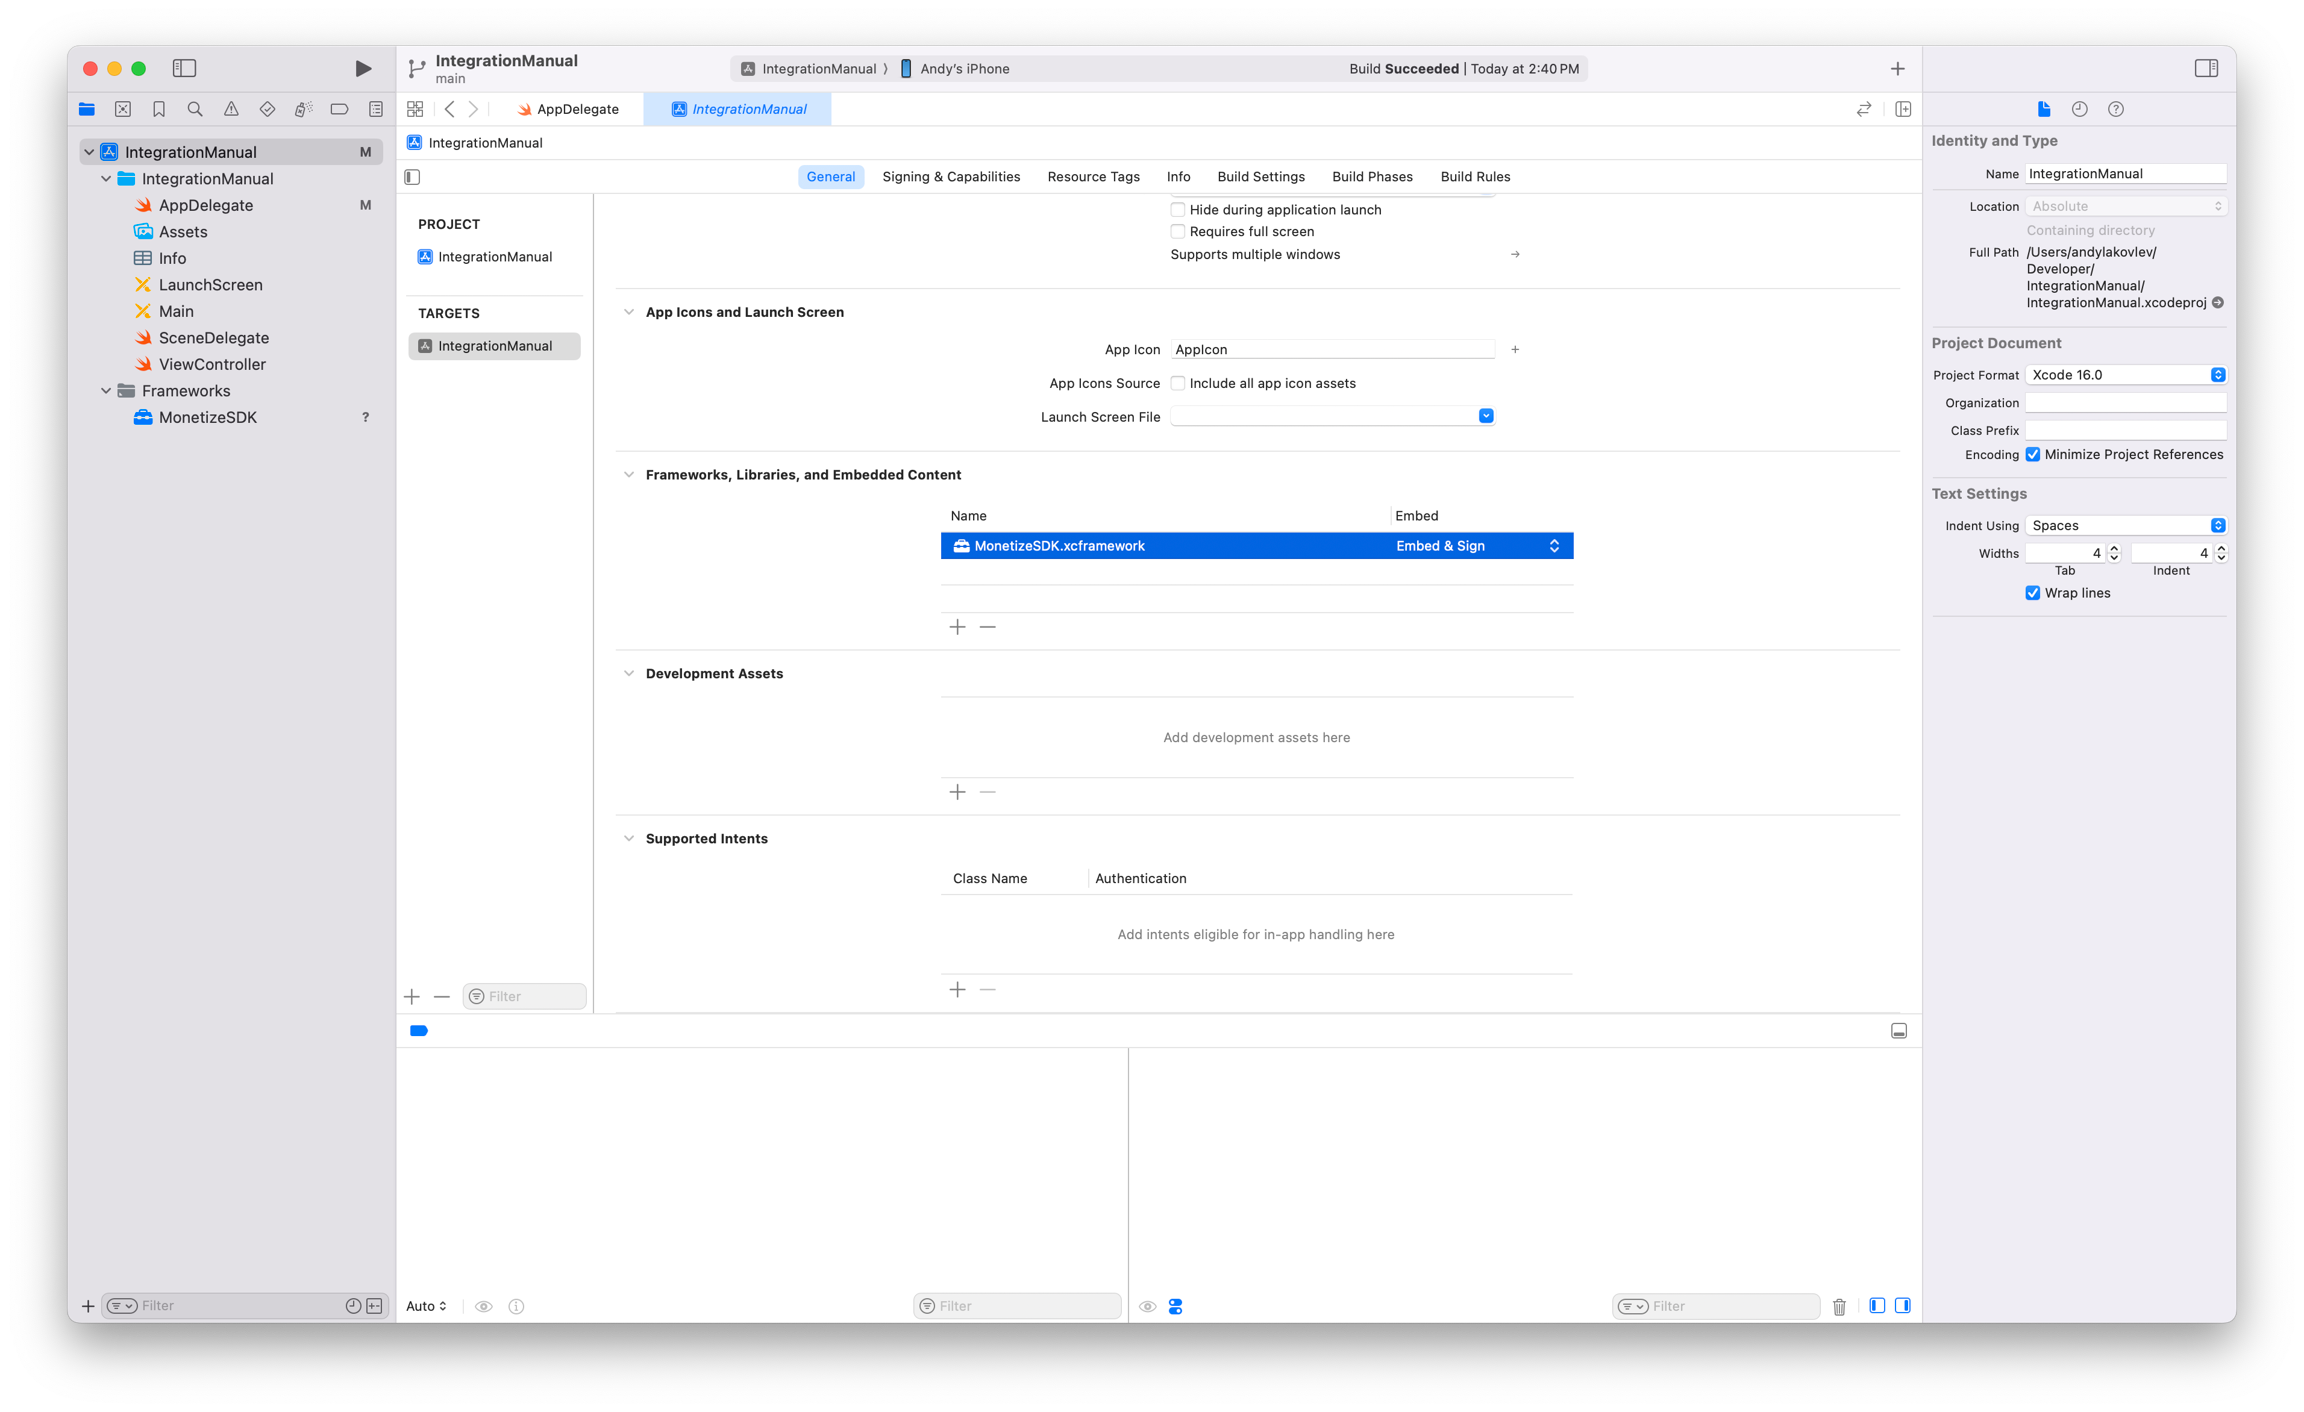
Add the Dependency
source 'https://github.com/adjoeio/PlaytimeSpecExternal.git' platform :ios, '14.0' target 'MyApp' do use_frameworks! pod 'PlaytimeMonetize', '~> 1.9.1' endpod install --repo-update
Part 2: App Attest Integration


Part 3: Configure Environment
2
Set to production environment
<?xml version="1.0" encoding="UTF-8"?>
<!DOCTYPE plist PUBLIC "-//Apple//DTD PLIST 1.0//EN" "http://www.apple.com/DTDs/PropertyList-1.0.dtd">
<plist version="1.0">
<dict>
    <key>com.apple.developer.associated-domains</key>
    <array>
        <string>webcredentials:prod.adjoe.zone</string>
    </array>
    <key>com.apple.developer.devicecheck.appattest-environment</key>
    <string>production</string>
</dict>
</plist>Why production is required:
Last updated